

Yard Prep for Thriving Native Meadowscaping
How to Prepare Your Space and Plant a Meadowscape
Planting a native meadowscape landscape is a 3 part process: prep, plant, and maintain. However, the first step, prep, can take up to months of work before you will be able to successfully sow your bulbs and seeds. For your meadowscape to thrive all sod and weeds need to be removed from the landscape. Removing any living competition for space and nutrients is what is going to give your meadowscape the ability to capitalize on the elements required to thrive, allowing the meadowscape to become bounteous over time.
Clear Landscape
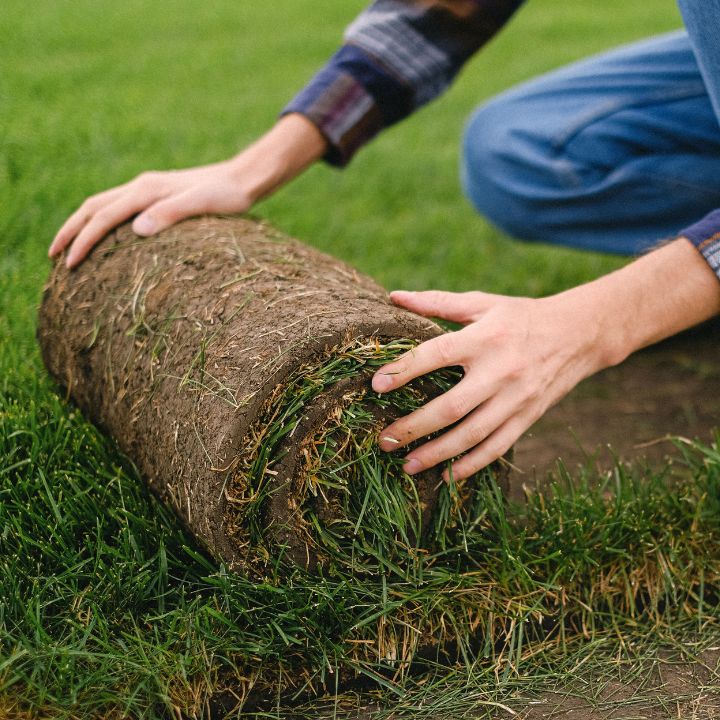
Remove Grass
This is the most labor-intensive part of creating a meadow garden. You can remove as much or as little as you want, depending on your planned meadowscape. Make sure you know your layout beforehand. If you want to start small, you don’t have to strip all of the sod in your yard.
Whether you want to start with a wildflower border or dive into a full meadowscape plan, you’ll need to remove grass to make way for your new meadow plants. It’s best to strip sod during the dormant season, preferably in dry weather. Mow the grass to be removed, then strip it from the soil either manually or mechanically.
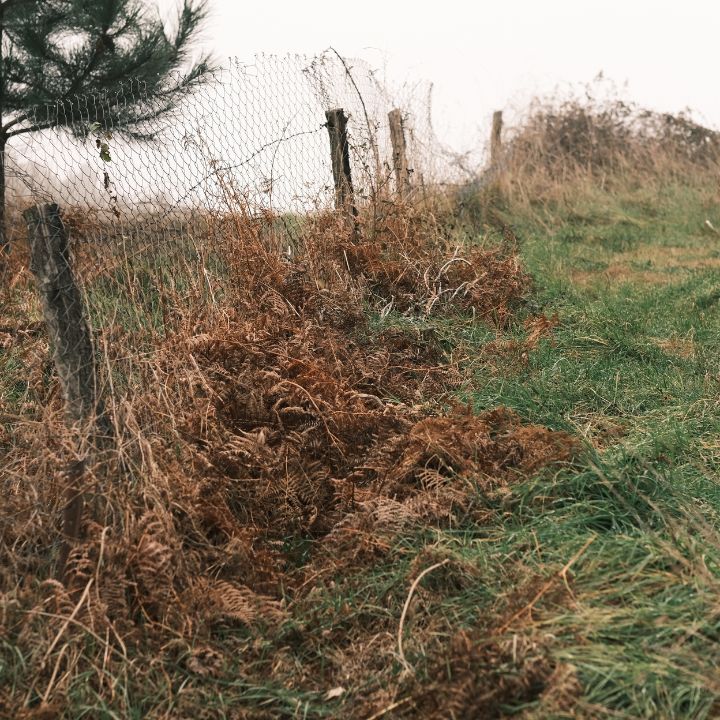
Clear Out Aggressive Weeds
This is very important, since aggressive weeds can choke out your beautiful new meadow plants if not dealt with. Luckily, there are several methods to weed eradication. If this seems like an uphill battle because you’re dealing with a lot of invasive weeds, you can even use some of these methods together for an aggressive approach. Here are some methods that have proven to be successful.
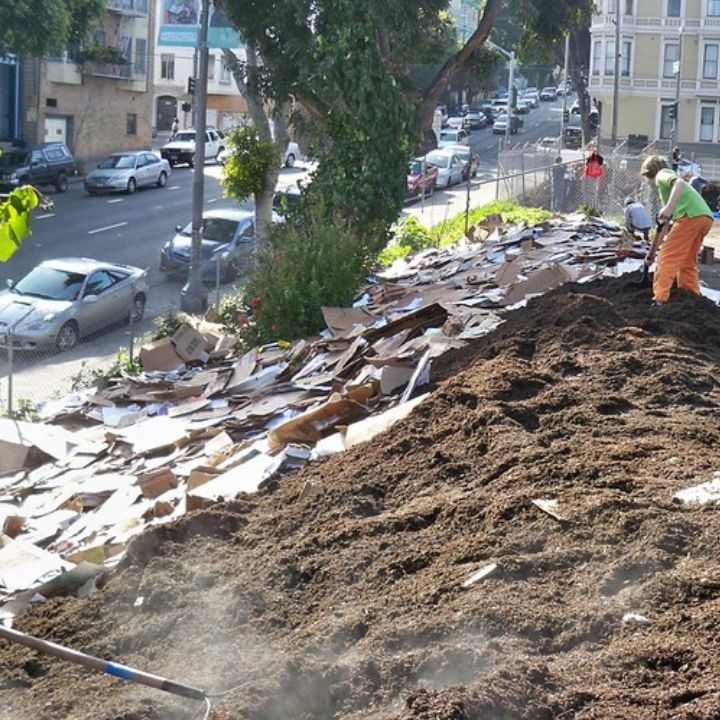
Sheet Mulching with Cardboard
If you’re lucky enough to not have many weeds to deal with, you can try a sheet mulching method. Keep in mind that this method is best for a minimal amount of weeds. The more weeds you have, the more aggressive you need to be in their eradication. To do this, cover the ground with cardboard, wet the cardboard, and cover the cardboard with alternating layers of compost and straw. This is best done during the late winter/early spring for early fall planting.
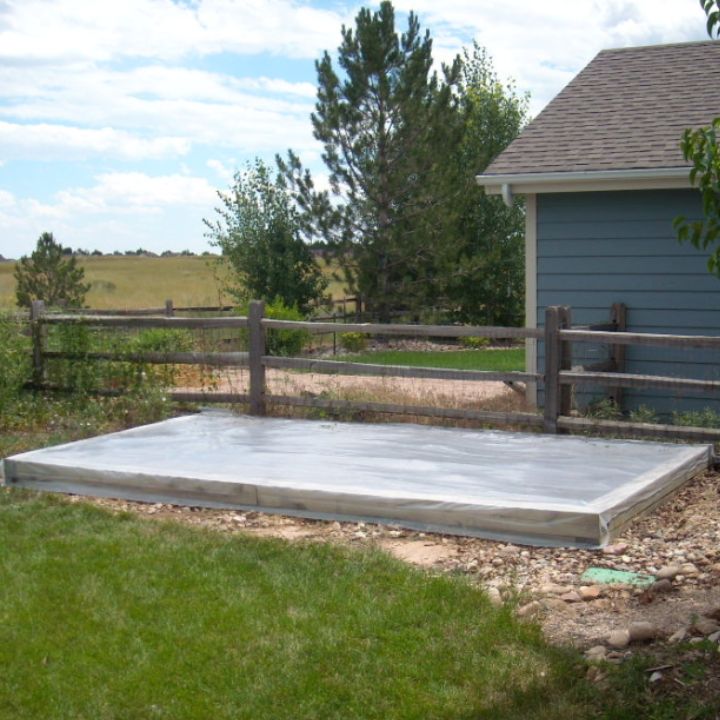
Solarizing
This method is very effective at killing weeds, their seeds, and any problematic pests in the soil. It essentially uses the power of the sun to kill off what will hinder your meadowscape. To do this, thoroughly irrigate the area and cover with heavy-duty clear plastic sheeting. Be sure to weigh the plastic sheeting down well. As with mulching, it’s best to do this in the late winter/early spring so you’ll be ready to plant in the early fall.
Herbicide
If you would like to try herbicide, be very careful about what type of herbicide you use. It might be best to hire a professional, because they have the knowledge, experience, and access to the best non-persistent low-toxicity herbicides. If you decide to try it yourself, make sure you get one with glycophosate as the active ingredient. If you have to contend with a lot of weeds, consider combining this method with one of the others.
Time to Plant!
Once you’ve removed the grass and killed all weeds in your growing area, you’re ready to plant. While both spring and fall are good planting seasons for meadowscapes, early fall planting yields the best results in most regions. Here are the steps to planting your new meadowscape.
Prepare the area
To prepare the planting area, gently smooth out the soil and likely pack the surface with a rake or roller. While doing this, be careful not to disturb the soil too much, or you’ll risk bringing dormant seeds of invasive weeds to the surface. Spread a thin layer of fine bark mulch or about 2 inches or less over your growing surface.
Plant your perennial plugs or bulbs
While still in containers, lay out your bunchgrasses and other perennials to help you visualize the layout. This will help you adjust to your satisfaction. When you’re ready, use a round point shovel to create a slot, and push aside the soil with the shovel. Using this method rather than digging a hole will limit sun exposure to dormant seeds belonging to weeds or invasive grasses. Plant your perennials, making sure the root collar sits at the soil surface. Use this same method to plant bulbs using a round point garden trowel.
Sow your annual seeds
Before seeding, spread another thin layer of fine bark mulch between the perennials. On top of the mulch, sow large seeds first, gently disturbing them with a rake so they fall into the mulch. Next sow small seeds on the surface and leave them exposed. Water all of your plantings, making sure they regularly receive a light watering until sprouts emerge.