
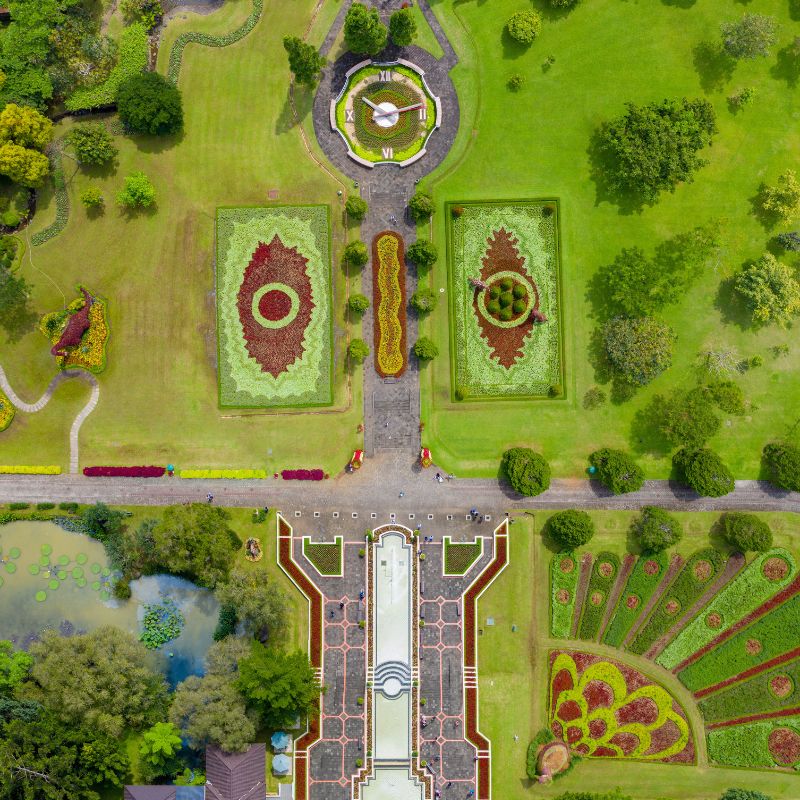
Draw Out Your Xeriscape Landscape Design & Irrigation Plan
Make Your Vision a Plan of Action
Draw out your landscape design and irrigation plan to avoid xeriscape front yard faux pas. Like reading floor plans it will benefit you to draw out your landscape design and irrigation plan. Seeing it on paper will allow for actual measurements to ensure that there is space for the plants you want to put within that space, size, lines, and direction. Drawing out the irrigation plan will help you identify how much material you’ll need, how to design the irrigation path, and any special considerations you haven’t already become aware of.
Should issues arise within the coming years it will be beneficial to have a plan and design to know where things are, as things will shift and grow over time. It also helps in replacing irrigation when it needs it.
Design Your Vision
It is recommended that you do a lot of shopping and work before you break any dirt on your xeriscape font yard. You will need to understand the principals of your space and the possibilities that are open to you. It will take a little work, but you can create something beautiful. First, make a list of the plants and design that you’re interested in and when you’ve done all the shopping you can do, move on to the next step.
Your Space
Walk through your space and note:
- Take measurements and notes on different characteristics of your space.
- Using your wish list, identify placement preference of specific plants.
- Draw out your space. You may want to make multiple copies of your space, or even draw it out on computer software for more accuracy.
- Insert hardscape elements of your space, this includes any existing trees, walking paths, stonework, entry ways.
- Mark any areas you will have to level out, or modify grading for water runoff. Note that some plants will want more water than others and take that into consideration when identifying your grading. Also consider any rain runoff that will come from the roof, and or gutters. You can also use that water runoff as irrigation for larger trees and plants.
Before you start to insert plants into your design consider each plants growth, water, and sun/shade requirements.
- Plants with similar needs should be grouped together.
- Plants that need full sun should not be placed under trees.
- Plan for the plants to grow – consider appropriately sized plants for each space, and when you plant, place them the appropriate distance apart.
- Avoid placing trees near utility lines.
Trees
This is the first layer of your xeriscape front yard design. This is your xeriscape front yard landscape backbone and consists or trees or plants that permanent and visible year round, i.e. trees and large cacti. When placing trees consider the following:
- Place trees first to maximize their shading abilities
- Avoid utility lines above, and below ground (consider growing roots)
- Maximize their majesty
- Don’t block any nice views
Shrubs
This is the second layer of your design. Shrubs serve more than just aesthetic characteristics in xeriscape front yard design. Here are some characteristics to consider with your space.
- Break up large areas
- Anchor the home into the design
- Block out undesirable views
- Soften walls & fences
- Filter sunlight to be less harsh
When designing your shrubs consider:
- Using quantities of the same species for a more pleasing design
- Formalize the look by using geometric designs, or straight lines
Groundcover
This is the third layer of your design. These are your accent plants and small cacti/succulents that provide color and texture to the overall design. Because it does add color and texture it makes them an area of emphasis, and should be used sparingly. These can be used to emphasize the entryway or specific trees or the like.
- Use vines to soften walls and fences
- Use accent plants to achieve a specific look
- Fill in spaces
Vegetable Garden or Bedding Plants
Depending on if you are designing for your front yard or your back yard you may want to include either a vegetable garden or bedding plants. If you don’t mind sharing your harvest with neighbors and passers by you can include a vegetable garden in your front yard. If not, consider placing bedded plants in the front yard.
Turf
Is turf a hard no on xeriscape landscape design? No, it isn’t. The biggest thing to consider with turf is that it does require a lot of water. If you’re focusing on a more low water design you probably want to avoid turf. However, turf areas are functional. They help to cool. If you have a pet, they like to have a little grass. If you do decide to integrate turf into your xeriscape design take these tips into consideration.
- Place by sidewalks or walkways, close to the house
- Keep the shape simple, complex designs and shapes make the turf harder to mow and care for
- Make the turf functional and only include what you need
- Plant to avoid run off into low water areas
- Consider if you can get the same look with lush low water groundcover plants
Mulch
When considering mulch for your landscape design, consider using crushed rock. Shop around to different suppliers and get samples of various sizes to take with you to sample in your space. Also, don’t forget the color of your house when choosing your mulch. The overall color and texture of plants, house, and mulch could look different when used in a large space. Once you have chosen your mulch study landscapes that are already using that mulch to understand how well it works.
If you want to see some free design downloads, check out this link. If you want to get some ideas of low water plants, check those out here.
Irrigation Plan
The traditional irrigation plan is a sprinkler system, however, you may want to consider a drip system for your xeriscape font yard design. The drip system applies irrigation directly to the roots, removing overuse of water by focusing the water where it is actually needed without further involving the plant. It also reduces evaporation, runoff, reduce weed growth, and increase plant health.
When doing research on irrigation systems, make sure your source is within the last few years. The theory has been around for awhile, but, technology has made more advancements and you will want to be up to date with technology and information.
Water Points
It can be useful to draw your irrigation plan on top of your xeriscape front yard landscape design, however, some people do prefer to have it on it’s own page.
Test the drainage flow of your space before you start planning the irrigation plan. This will help you identify any areas that will need to be graded prior to planting and irrigation instillation.
1. To test your space grade place a straight piece of wood, something flat. Place a level on top of the flat board to identify the direction of your grade. Repeat this around the yard.
2. Next, you’ll want to measure how the yard handles rainfall. If you don’t get much rain you can use a sprinkler to simulate rainfall. Note any areas where water collects.
3. Next, take the hose to the highest point of the yard and run the water to determine the direction of flow and where any water collects.
4. Finally, identify where rain water falls from the roof and where the flow runs off from the roof to the ground.
Once you have the idea of how water moves around your space, make any grading adjustments and draw out your irrigation plan. To draw out your irrigation plan follow these steps:
- The first point in your irrigation plan is where the water connects to the house
- Mark the location of each flow rate emitter
- Color code emitters by plant type (red for trees; purple of shrubs, vines and groundcovers; green for planting beds)
- Mark the location of each irrigation valve – these are by the backflow preventers – with the same color scheme in the previous step
- Mark the irrigation controller, which is usually by an electrical outlet/breaker box/or garage
- Connect the valves to emitters to show the irrigation lines, use the same color scheme as in the previous steps. Make sure to use straight lines to optimize water flow.
- Add flush caps, which are place at the end of each line