
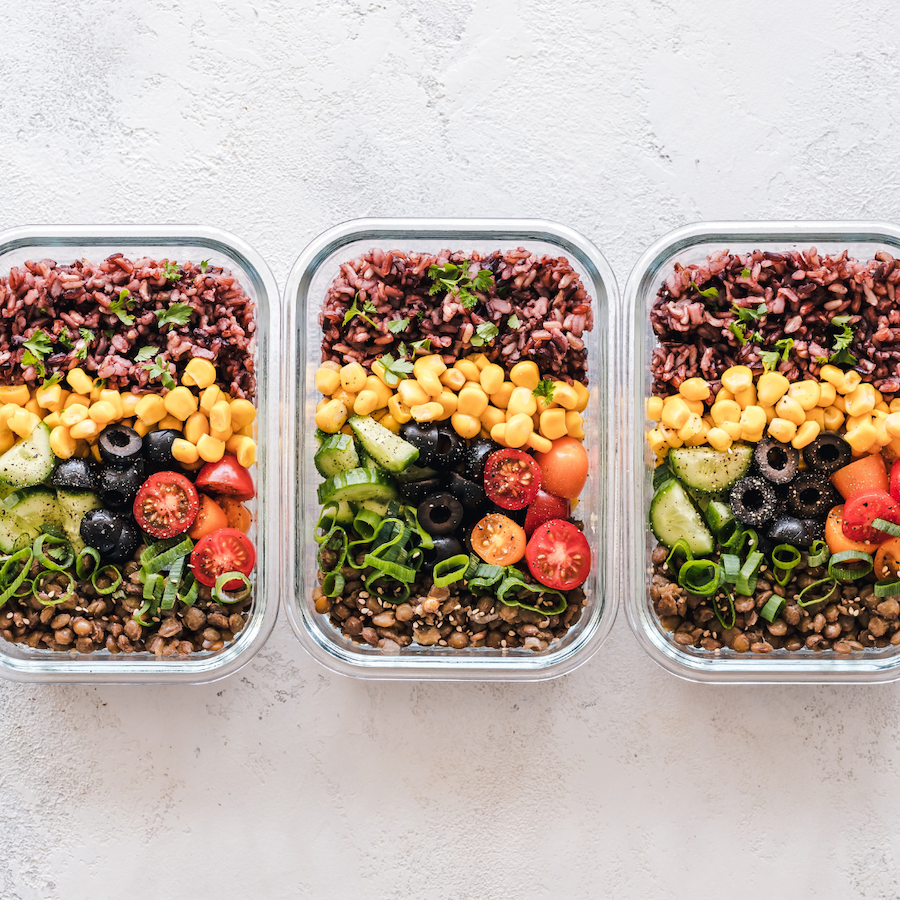
How to Preserve and Store Your Harvest
Freeze, Dry, & Can Your Harvest to Enjoy 365
One of the questions I get a lot is how to preserve vegetables and fruit from my garden. There are many ways to store your harvest so that you can enjoy it all year long. Freezing, drying, and canning are all great methods to preserve your food. By following these simple tips, you can enjoy your fresh fruits and vegetables all year long!
How to Freeze Fresh Fruit & Fresh Veggies
One of the best ways to preserve your harvest bounty is by freezing. Freezing is a great way to preserve the freshness and nutrients of your fruits and vegetables. Here are some tips on how to freeze your fruits and vegetables:
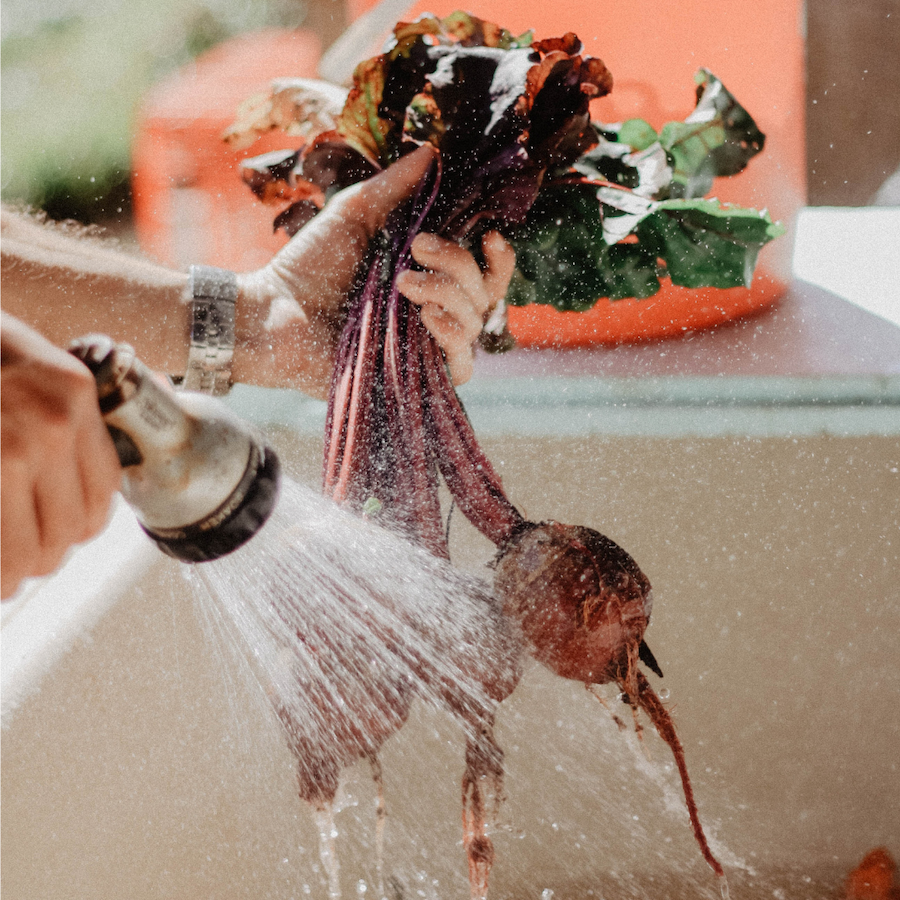
- Wash your produce thoroughly.
- Dry your produce completely.
- Cut your produce into small pieces or slices.
- Place your produce on a baking sheet lined with parchment paper.
- Place the baking sheet in the freezer for about 2 hours.
- Once the produce is frozen, transfer it to a freezer-safe container.
- Label the container with the name of the produce and the date.
By following these simple tips, you can enjoy your fresh fruits and vegetables all year long!
Special Tip: How to Freeze Bananas Without Them Going Black
Bananas are one of the most popular fruits in the world. They are delicious, nutritious, and easy to find. But did you know that you can freeze bananas without them going black?
- Start with ripe bananas. The riper the banana, the sweeter it will be.
- Peel the bananas and cut them into small pieces.
- Place the banana pieces on a baking sheet lined with parchment paper.
- Freeze the bananas for 2-3 hours, or until they are solid.
- Store the frozen bananas in a freezer-safe container.
- Enjoy!
Frozen bananas are a great way to enjoy this delicious fruit all year long. And by following these simple steps, you can be sure that your bananas will stay fresh and delicious.

How to Dehydrate Fruits & Vegetables in the Oven
Dehydrating fruits and vegetables in the oven is a great way to preserve them for later use. The process is simple and only requires a few hours of your time. Here’s how to do it:
First, preheat your oven to the lowest temperature possible. Next, line a baking sheet with parchment paper and spread out your sliced fruits or vegetables in a single layer. Make sure that they are not touching each other.
Then, place the baking sheet in the oven and let the fruits or vegetables dehydrate for 3-4 hours. Check on them occasionally to make sure that they are not burning.
Once they are dehydrated, remove them from the oven and let them cool. Store them in an airtight container and they will last for months.
Special Tip: How to Dehydrate Tomatoes
Dehydrating tomatoes is a great way to preserve them for later use. Here’s how to do it:
- Start with ripe tomatoes that are free of blemishes. Cut them into even slices, about 1/4-inch thick.
- Place the slices on a dehydrator tray, making sure they’re not touching.
- Set the dehydrator to 135 degrees Fahrenheit and let it run for about 12 hours, or until the tomatoes are leathery and dry to the touch.
- Store the dehydrated tomatoes in an airtight container in a cool, dark place. They’ll last for several months.
- To rehydrate, soak the tomatoes in water for about 30 minutes. Then, use them in any recipe that calls for fresh tomatoes.
If you’re interested in doing a lot of dehydrating, consider getting a food dehydrator, which will speed up your process, decreasing the number of batches you’ll have to go through.
How to Preserve Vegetables & Fruit by Canning
One of the best ways to preserve food without a fridge is by canning it. Canning is a process of sealing food in jars or cans to prevent spoilage. There are two types of canning: water bath canning and pressure canning. Water bath canning is best for high-acid foods like fruits and pickles, while pressure canning is necessary for low-acid foods like vegetables and meat. For either method you are interested in there are some tools you will need to invest in.
- Cooling rack
- Ladle
- Funnel
- Canning jars & lids
- Jar lifter
I recommend using this LINK for your canning, it comes with a 20 qt pot, if you are looking for something larger check out this 50 qt LINK pot. As far as canning jars and lids, it is recommended that you use new equipment, at least with your lids. You will get a better seal and ensure the integrity the contents of the jars.
Ready? Here we go!
First things first, sterilize your equipment.
- Fill your canning pot with water and set it on the stove to boil.
- Carefully lower your jars into the pot using the jar lifter.
- Boil the jars for 10 minutes to sterilize them.
- Remove the jars from the pot and let them cool on the cooling rack.
Water Bath Canning
Fill your jars – Leave 1 inch of headspace at the top of each jar
- Once the jars are cool, you can start filling them with your produce.
- Use a funnel to pour your food into the jars, and then use a wooden spoon to release any air bubbles.
- Wipe the rims of the jars with a damp cloth, and then screw on the lids.
Process Jars
- Place the jars back into the canning pot, making sure they’re covered with at least 1 inch of water.
- Bring the water to a boil and then let the jars boil for 10 minutes.
- Turn off the heat and let the jars sit in the hot water for 5 minutes.
- Carefully remove the jars from the pot and set them on the cooling rack.
- Let the jars cool completely before storing them in a cool, dark place.

Pressure Canning
Tools:
- Time : 4 -20 quarts can take between 3 to 4 hours
- A place to prep food
- Pressure canner – NOT pressure cooker
Set Up Pressure Canner
- Place rack inside pressure canner.
- Add 2-3 in of water and bring it to a simmer.
- Use a pressure canning recipe to prep your produce.
- Fill each jar using a ladle & funnel.
- Use a spatula or canning wand to remove any air trapped within the produce.
- Leave up to 1 inch headspace in each jar.
- With a damp cloth remove any residue along the top of each jar.
- Place lid and band on each jar. Tighten only as far as finger strength.
- Use the jar lifter place jars on the canning rack in the simmering water, making sure jars do not touch.
Process Jars
- Lock canner lid.
- Open vent pipe.
- Change heat to medium-high to get steam coming through the vent pipe.
- Allow steam to come out for 10 minutes, to ensure there isn’t any more air inside the system, just steam.
- Close the vent as described in your pot’s instructions.
- Monitor and adjust to maintain recommended pressure.
- Recipe should dictate how long to steam.
- Turn off heat, let stand untouched until gauge is back to 0.
- Wait 10 min, then unlock the lid. Tilt away from yourself to avoid heat damage.
- Let jars sit an additional 10 min.
- Using the jar lifter, remove jars from canning pot, set upright on a towel.
- Leave jars undisturbed for 12 to 24 hours.
- Remove bands to check lids are secure. Either press on center of lid, there should be no give, or gently try lifting the rim with your nail.
This process also creates a lot of food waste. Learn about composting.