
Step-by-Step How to Winter Upkeep for Your Evaporator Cooler
Tips, tricks, & tools you’ll need to do the job
Swamp cooler winterization is a necessary step in colder areas. Some things are easier to winterize than other, but if you’re looking for a DIY how to winterize your evaporator cooler hack you’ve come to the right place.
During the warm spring, summer, and fall months, a swamp cooler can be a lifesaver. A relatively low-tech and energy-efficient alternative to an air conditioner, a swamp cooler uses water evaporation to create cold air within a space. Since this technology relies on a water supply to create cold air, it is very important to take certain steps to winterize the unit and prevent rust. This is an inexpensive process that can be completed in few steps and will prevent expensive damage and a smelly mildew problem in your future.
Supplies:
- Pliers, wrench, and screwdriver
- Ladder
- Bucket
- Sponge/Shop Towels
- Shop vac (if desired)
- Swamp cooler cover/Tarp
- Cardboard/Insulation Sheet (if necessary)
1. Disconnect Power Supply
It’s very important that you disconnect the power supply before winterizing your swamp cooler. You could get injured by the fan if it turns on, and there’s always a risk of electric shock while working with a live current. Turn the unit off using the on/off switch and unplug it as an extra precaution. If you can’t unplug the unit, cut off the power at the breaker.
2. Disconnect Water Supply
Don’t forget to disconnect the water supply before draining the swamp cooler, or you’ll have a big soggy mess. Start at the water source, which may be an outdoor/crawlspace spigot or an indoor sink. At the source, turn the supply valve to the off position.
Once the water supply is cut off, disconnect the water line from the cooler itself. Depending on the model, you can do this with pliers or a wrench. Have a bucket ready to drain the water line.
3. Drain the Water
Drain the water from the supply line into a bucket. As an extra precaution, you could also disconnect the supply line at the source and blow air through the line to ensure that no water remains. If disconnecting the line from the source isn’t possible, simply drain the line as much as possible.
After draining the supply line, you’ll need to do the same to the pan inside the unit. To access the pan, you will have to remove a side panel. Depending on the model, you may need to unscrew the panel, or use latches installed on the panel. With a wet vac or sponge, remove all standing water from the pan and wipe dry with a towel.
Skipping this step could result in a mildew problem in your future, so remove as much moisture as you can. You will also want to prevent rust from building.
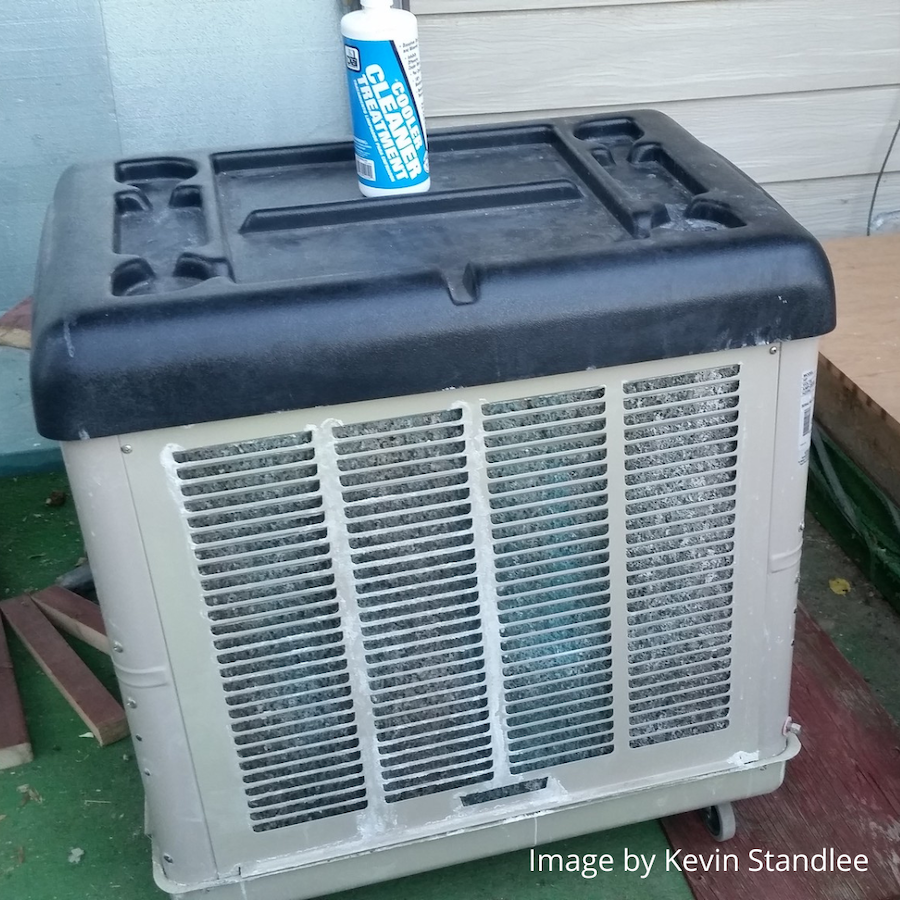
4. Clean & Prepare the Unit for Spring
You could wait until you are ready to use the cooler again, but a little maintenance now will get you ahead of the game. With a rag, clean any dirt or mineral residue from the unit’s interior. This is also a good chance to dry any remaining moisture.
Since you already have a side panel off, this is a good time to replace the evaporative cooler pads in the cooler. The type and size of evaporative pad depends on the model, so check your manual or do a bit of online research specific to your cooler.
5. Cover the Cooler
It’s best to use a cover made specifically for these coolers. These covers are designed to protect the unit from harsh weather while allowing for ventilation. If moisture gets trapped, it could damage the internal components or cause a mildew problem. These covers are easy to find and are made in different sizes. Once you cover the unit, make sure the cover is secured at the base and sides to resist strong winds.
6. Block Vents
To prevent air from entering, causing heat loss during the winter months, make sure to block all internal vents. Most vents are designed with a lever to do this. If this isn’t the case, or you want extra insulation, you can create your own barrier. With cardboard or a foam insulation sheet, cut a barrier to fit the vent. Remove the vent cover to access the vent and insert the barrier.
Now your swamp cooler is winterized! Of course, check your unit’s manual or an online resource to see if there is anything more you should do for your specific cooler. Otherwise, your cooler is protected and ready for the cold months ahead.